Summary:
Got a party in two days and your ends are looking like hay? It happens. This guide is your go-to split end emergency kit. Whether you’re trying to prevent more breakage or make your hair look healthier instantly, this checklist is packed with practical tools that repair, protect, and upgrade your routine—no salon trip required.
Table of Contents
- Got a Split End Emergency?
- Why Split Ends Need Targeted Care, Not Random Products
- The Emergency Kit: What You Actually Need
- How to Use the Kit (in a 5-Day Recovery Plan)
- Bonus: What Not to Use in a Split End Emergency
- Conclusion + Next Steps
Got a Split End Emergency?
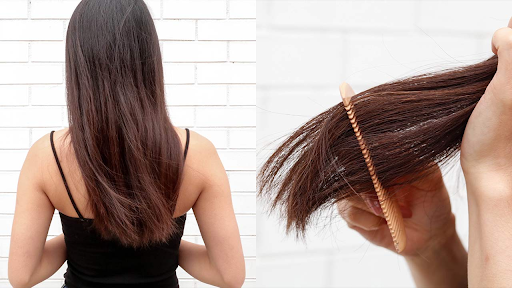
You’re brushing your hair and... yikes. The ends are dry, frayed, and completely uncooperative. And to make matters worse, you’ve got a big event coming up. Before you panic-book a haircut, check out this split end emergency kit. It’s built to help you fix the look and feel of damaged ends, fast.

Split ends are one of those frustrating beauty issues that can sneak up on you. One day your hair feels soft and manageable, and the next, the ends are rough, tangled, and screaming for help. Fortunately, there’s no need to schedule an urgent salon appointment. With the right routine and a few targeted products, you can revive your ends at home in less than a week.
Why Split Ends Need Targeted Care, Not Random Products
Let’s get this straight: you can’t glue a split end back together. Many products claim to repair damage but only seal the ends temporarily. That’s why most people waste money trying product after product. What you need is a mix of solutions that work together: trimming the splits, sealing what remains, and preventing new ones from forming.
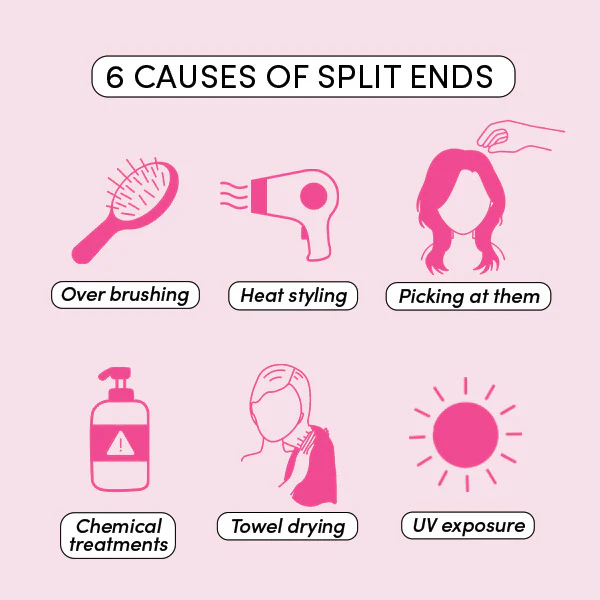
Split ends occur when the protective outer layer of the hair shaft wears down due to heat, dryness, or friction. That leaves the inner cortex exposed, which leads to splitting. Without trimming or strengthening care, these splits can travel higher up the strand, causing breakage and hair loss. That’s why fast and focused care matters.
The Emergency Kit: What You Actually Need
Every good emergency kit has a plan—and a purpose for each item. Here’s what you really need for damage control:
|
Tool/Product |
Purpose |
Quick Tip |
|
Remove existing splits |
Use once every 6–8 weeks |
|
|
Leave-in Conditioner |
Moisturize & protect |
Apply to damp ends daily |
|
Heat Protectant |
Prevent future splits |
Always use before heat styling |
|
Protein Mask |
Strengthen hair structure |
Use once per week |
|
Silk Pillowcase |
Prevent friction overnight |
Your nighttime upgrade that matters |
Each of these tools tackles a different part of the problem—split ends don’t just need moisture or just trimming. They need an integrated approach that stops the damage and builds stronger strands going forward.
How to Use the Kit (in a 5-Day Recovery Plan)
This isn't just about products—it’s about timing. Here’s how to structure your split end rescue into a five-day plan.
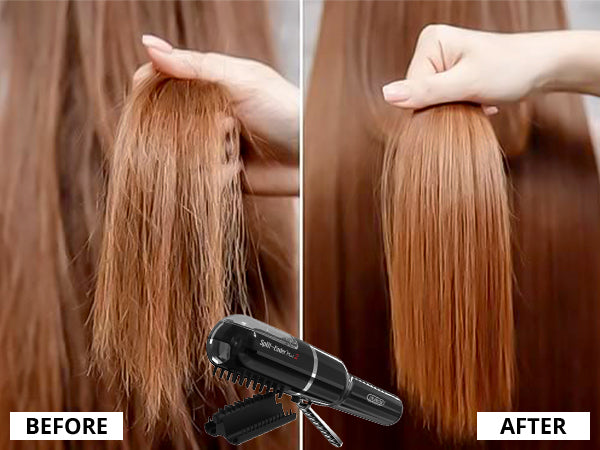
Day One: Trim with the Split Ender Pro. Start your recovery with a clean slate. A precision trimmer removes only the damaged tips, not your length. Run it through clean, dry, detangled hair.
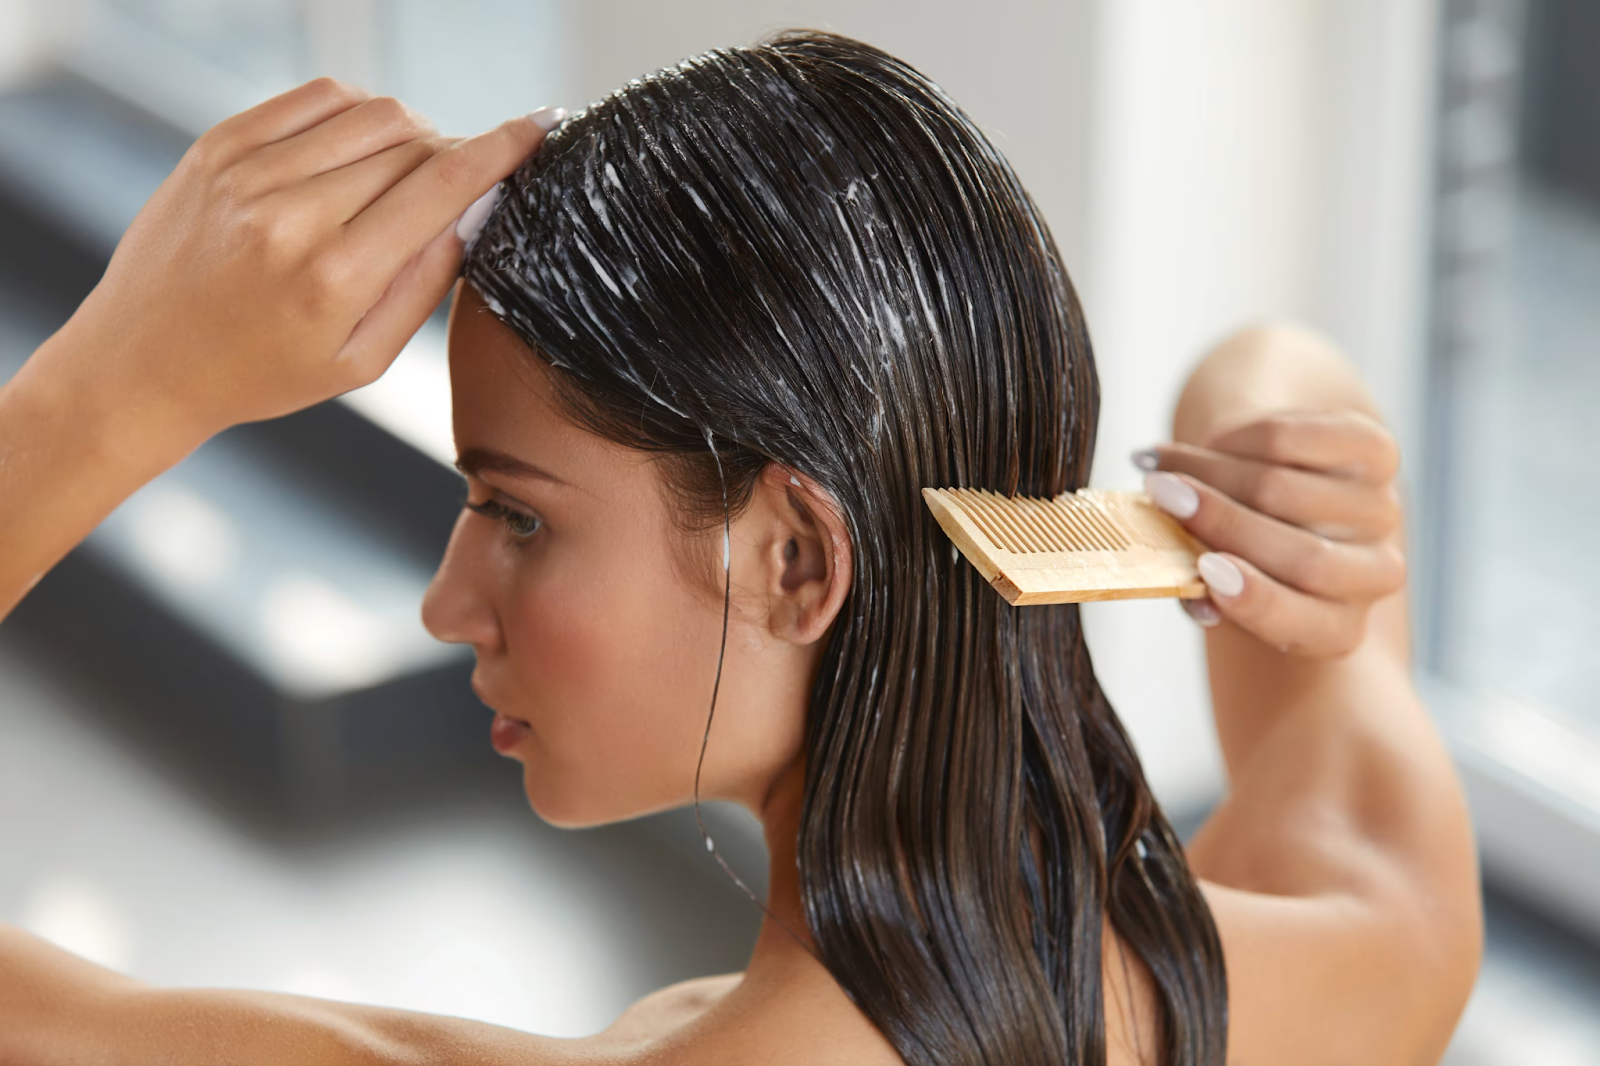
Day Two: Deep Condition and Detangle. Use a rich protein-based mask and gently detangle with fingers or a wide-tooth comb. This restores moisture and flexibility to the shaft, which reduces the risk of new splits.
Day Three: Style Smart. Go for low-manipulation hairstyles like braids or buns. Seal your ends with a few drops of nourishing oil to keep hydration locked in.

Day Four: Co-Wash and Sleep Smooth. Use a gentle conditioner in place of shampoo and rinse with cool water. At night, switch to a silk or satin pillowcase to protect ends while you sleep.

Day Five: Reassess and Maintain. Touch your ends, are they softer, less tangled, easier to style? Great. Keep it going with daily leave-ins, weekly masks, and monthly trimming sessions.
Bonus: What Not to Use in a Split End Emergency
Don’t undo your progress by reaching for the wrong products. Avoid:
- Alcohol-heavy sprays that strip your ends
- Heat tools without a protectant (they burn the cuticle)
- Air-drying without a sealing step (leads to moisture loss and frizz)
When in doubt, keep it simple. Stick with ingredients and tools that hydrate, seal, or safely remove damaged ends.
Conclusion + Next Steps
You don’t need a drastic chop or an expensive treatment to recover from a split end emergency. Just a few targeted tools, five days of smart habits, and you’ll be back to smooth, strong strands in no time.
🔗 Read next: